4 Best Ways To Troubleshoot QuickBooks Error Code 6210
- alexnelson030722
- Aug 19, 2022
- 3 min read


Are you striving to find the methods for resolving QuickBooks Error 6210? Before you identify an appropriate way to solve this problem, we recommend you go through the discussion below.
The QuickBooks Error 6210 generally came into the picture in multi-user mode. However, this issue also appears when a user retrieves the company file (hosted in a workstation) without establishing its network server, so this will land you on the QuickBooks error code 6210.
We recommend you get some knowledge on these aspects. Let's get deep insight into this error, its symptoms, and why it occurs, followed by the method that will help you address this problem.
You might get the following error message on your desktop screen:
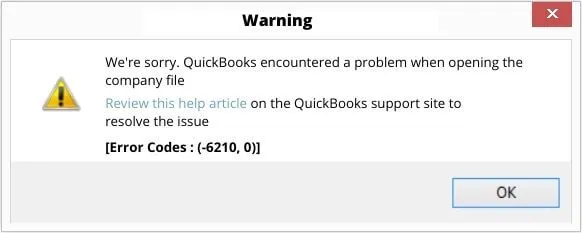
Causes behind QuickBooks error code 6210
The QuickBooks Error 6210 can appear for various causes. Some of the reasons that the users frequently encounter have enclosed below.
Inappropriate installation of QuickBooks desktop software
Any corruption has entered because of a virus attack
Damaged QuickBooks company data file
Issues in windows registry
The system infections that can delete the QuickBooks company file
Any changes in the software
Symptoms of QuickBooks file error 6210
The symptoms invoked by many users consecutively about QuickBooks Error code 6210. These symptoms include-
Unexpectedly quit QuickBooks desktop software.
Display 6210 on the Windows screen
Crash of entire system and QuickBooks utility
Windows stop to respond after the occurrence of Error 6210.
Methods To Troubleshoot QuickBooks Error 6210
Checkout the following solutions in order to resolve the QuickBooks error code 6210:
Method 1: Edit the file name of “.ND” and. “TLG” files

Open “File Explorer” by pressing the “Windows+E” key combination.
Open “Local Disk (C:)” and click on the folder containing “QuickBooks Installation Directory,” and open it.
Look for the corresponding network and transaction data file.
Right-click on the file ending with the “.ND” extension and opt for the “Rename” option.
Add “.OLD” as a suffix in the existing name of the file.
Similarly, find the file with the “.TLG” file and “Rename” it.
Now, move all the files into a new folder and try to access QuickBooks and its company files from the new folder.
Method 2: Download and Launch the QuickBooks File Doctor Tool
First, download and install the “QuickBooks Tool Hub” on your system.
Accept all the license agreements and finish the installation by launching the “QuickBooksToolHub.exe” file.
After installing “QuickBooks Tool Hub,” open the app and go to the “Company File Issues.”

Here, you will find the “Run QuickBooks File Doctor” option. Tap on it to initiate QuickBooks File Doctor.
Method 3: Download and Launch the QuickBooks Database Server Manager
Open “Tool Hub,” or if you don’t have it follow the instructions to download and install it mentioned in the previous method.
In the “QuickBooks Tool Hub” window, switch to the “Network Issues” tab.
Choose the “QuickBooks Database Server Manager” option.

Now, you can scan the company file location with the help of “QuickBooks Database Server Manager.”
Switch to the “Scan Folders” tab and tap on “Browse.”
Select the “folders that store the company file.”
Finally, click on “OK” and “Start Scan.”

Method 4: Copy the Company Files to the Desktop
Create a new folder on the Desktop to copy the company files.
Open the folder which currently stores the company files.
Right-click on a company file to copy and paste it into the newly created folder on Desktop.
Hold the “CTRL” key and don’t leave it until the “No Company Open” window opens.

Opt for “Choose a Company File” and click on “Next.”
Browse the newly created folder and click on “open.”
Conclusion
This write-up has included some possible ways you are required to follow when you are accessing a company file in your network. Before jumping on the methods to resolve QuickBooks error code 6010, try to understand why and what causes this issue in your system. It will help to identify the proper techniques to address this issue.
Well, the problem-resolving methods are instructed under the guidance of our 24/7 QuickBooks error support professionals. Still, please call us immediately at 1-800-615-2347 to get our response.


Comments